Flannel Jammies Farm

...praising God on our 1/5 acre of suburbia

Tuesday, April 1, 2014

art therapy: stained glass...


A wise pastor knows.  A wise pastor sees the struggles, the anxieties, the pain we so easily hide from others.  A wise pastor knows that not all counseling is done in comfy chairs over a box of tissues. We are blessed to have just such a pastor at our church.  And the extra blessing?  He's a stained glass artist.  So when he sees me struggling against the stressors of this life, he invites me to learn about stained glass.  Brilliant.

First, the design.  "I want a bee," I tell this kind pastor.  He finds a design immediately:  a lovely fat bee on a circular background.  And I just as quickly say, "But I want the background to be a hexagon, like a cell of the comb."  We set to work reconfiguring the design (and by we, I mean he and my sweet husband).  Soon we have a workable design, a framework on paper to proceed from.   Each section is coded with a number (because this will be our pattern and each piece must have a number) and a letter or two indicating the color of glass for that piece.  The original paper pattern was cut apart, then each piece and its coding was transferred to a sturdier paper.  The pieces were cut from the sturdier paper, but not with ordinary scissors.  The scissors used cut the pieces and simultaneously created a "gutter", a small gap between each piece to allow room for the foiling to come.


Colors, oh colors!  Our patient pastor/instructor sat me down in the corner of his studio where he stores all those beautiful pieces of stained glass and told me to choose.  He and my husband quietly overlooked the squeals of delight as I pulled out each new piece of glass.  Well, of course, we need gold and dark brown for the bee, and black for its legs, I think.  The wings should be clear or opalescent, maybe?  The pollen basket... hmmm... pollen comes in so many colors!  And the hexagon.  Cream or ivory for the interior section to make the bee "pop" on the background, but maybe some sort of beige for the outer walls of the hexagon.  And then, he pulled out this amazing, mottled, bumpy, beeswax-colored glass from his stash.  It took my breath away!  It was perfect. 
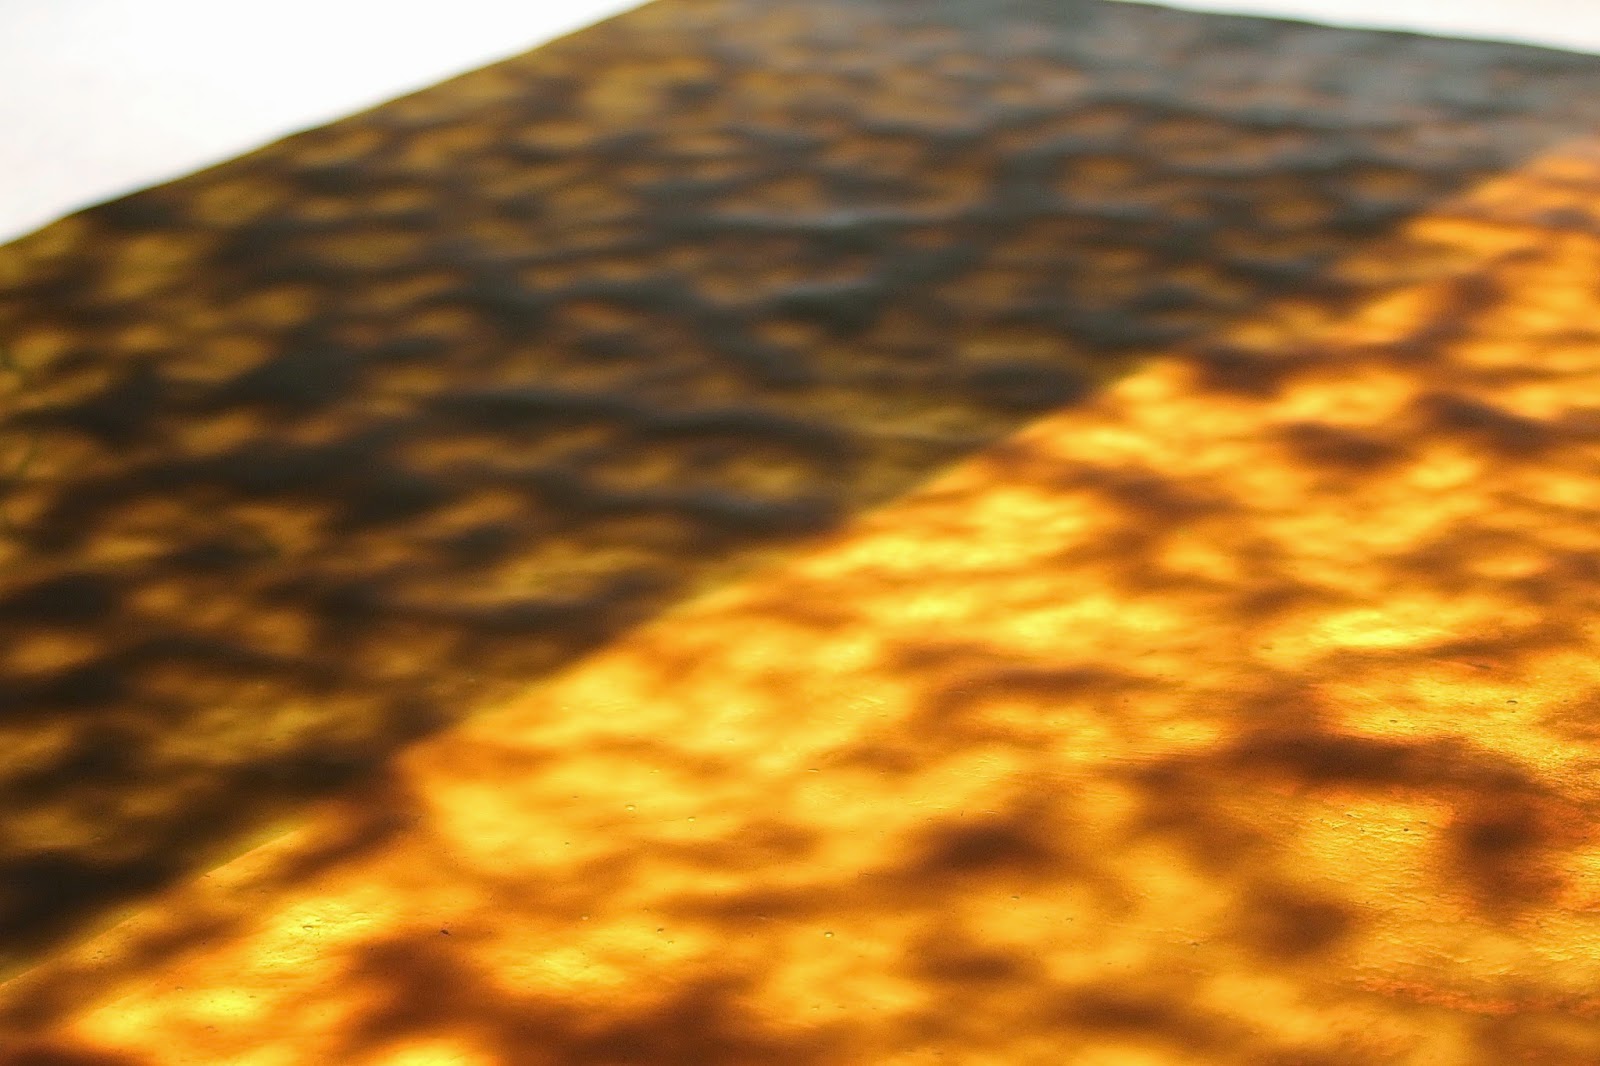
We still needed a few colors, so we loaded into the Jeep for a trip to the local candy store stained glass store.  Pure bliss.  Colors, textures, patterns... everywhere.  Aisles of shelves arranged by color.  End caps with small, affordable pieces of gorgeousness.  Whole bins of glittering shards.  How were we to choose?  But choose we did.  And my husband found the most magical sky blue, opalescent glass for the bee's wings and a clear, bright green for the pollen basket!

Back to the pastor's studio (a cozy over-the-garage room with all the tools needed to create stained glass masterpieces).   Those sturdier paper pieces of our pattern were transferred with each one's coding to the coordinating color glass with a permanent marker.

In our sessions together, our pastor taught with care about scoring the glass with a special tool, how to split the glass along the score lines, how to grind each cut piece on the grinder until it was just the size needed to fit on the pattern, which had been tacked to a board with metal guards to keep the glass pieces in place.  Some pieces were more difficult (like me).  Some had to be ground more than a few times to get them just right (like me).  Some pieces had to be reworked altogether (like me).  Finally the pieces fit in an acceptable way into the temporary framework. Copper foil was added to the edge of each piece and burnished onto the glass edges, and the pieces were fit into place once more.  A couple of the pieces had to be ground again; the copper foil adding more width to the pieces made them fit too tightly in a couple of spots.  Flux, a gooey substance that allows the solder to flow and adhere nicely to the copper foiling between the pieces of glass, was brushed onto the foil a section at a time, then solder was applied with a hot soldering iron in a smooth, flowing bead.  (Soldering... let's just say that I need way more practice and I'm ever thankful that our pastor cleaned up my poor attempts!)


In the wink of an eye, she appeared!  Out of the broken, dirty pieces of stained glass appeared a stunning, shimmering bee! 

And isn't that what we all are anyway... stained pieces of fragile glass through which the Lord shines His Light, creating beauty?

Monday, March 10, 2014

lessons learned from the VABF conference, part three...

Our last day at the Virginia Association for Biological Farming conference...

This was the day that I knew exactly which sessions I wanted to attend. 

Workshop:  A Bio-Intensive Market Garden presented by Jean-Martin Fortier of Les Jardins de la Grelinette, Quebec, Canada, and author, The Market Gardener: a successful grower's handbook for small-scale organic farming

My favorite main conference workshop!  Loved Jean-Martin's practical advice and his efficiency mindedness.  Loved his wit.  Loved that when we chatted as he signed my copy of The Market Gardener he asked about my little urban homestead and he was genuinely enthusiastic about it.

Takeaway Tidbits:   
   - Efficiency in farming is everything... because you want to have a life!
   - Bio-intensive, example: grow onions in bunches of 3 instead of just one = more harvest, quicker planting
   - Permanent raised beds, 30" wide (easily worked with hand tools without causing back strain), 100' long (quick production calculations, efficiency in ordering materials that come in 100' lengths), and 18" between rows (because, as Jean-Martin put it, you don't want your ass in the cauliflower behind you while you're working the row in front of you).
   - Cover the rows with black tarps 2 - 3 weeks before planting or transplanting to kill weeds and prep the garden with a no-till method.
   - MUST check out the propane flame weeder!  www.flame-weeders.com

Next:  Edible Landscaping.  This workshop was one I was excited about.  It was not what I expected, but a great deal of fun!

Workshop:  Edible Landscaping presented by Michael McConkey of Edible Landscaping, Afton, Virginia
Michael McConkey
Michael is a loveable nut!  He started with an amazing ode to edible plants, singing and playing guitar.  His smiles were infectious.  He even took a couple of cell phone calls during the presentation, making them a part of the workshop and including the audience and the caller.  He knows his plants and it's obvious that he loves them dearly.

Takeaway Tidbits:
   - Recommended Surround spray, a kaolin clay-based product for apples and other fruit trees to keep worms and/or larvae such as plum curculio, oriental fruit moths, and codling moths from your fruit.  A happy item for those wishing to grow fruits organically!  Also, pheromone twist ties are helpful during the last 120 days of fruit growth.
   - So many edible plant suggestions were favorites:  che fruit, Regent juneberry, weeping mulberry, Eddie April apple... too many to list!
   - Blueberries love to grow in mulch and lots of rotting vegetation.  Put a couple of inches of mulch around them each year.  Container (20 gallon pot) blueberries need to be wet to be hardy.
   - Figs:  plant on the south side of the house.  These are not fussy about soil.  Cut figs with 1/4" of the stem attached... if it bleeds a milky substance, it's not ripe.  Stretch marks on the fruit skin are a good ripeness indicator.

Instead of attending the Simple Farm Structures workshop, I chose to slip away and take my son to lunch.  What a treat!  You can find the presentation notes for Simple Farm Structures, as well as many other workshop presentation files, by visiting the VABF website HERE.
my amazing son
I got back to the conference in time to pick up Lanette, make sure the Jeep was filled with all good things (seeds, chick feed, compost, luggage, notes, and snacks), and set the GPS for home.  The trip home was quick and free of traffic snarls and tunnel clogs.  I arrived, kissed the hubs, and then drowned him in notes and information!!!

Now, a last note.  I don't own a farm.  We work the soil and keep bees on 1/5 acre in the middle of a large city.  But we grow intensively and beyond organically and harvest much of our diet from our garden.  I am very curious about all things organic, farming, homesteading, and foodie.  Was I the likeliest candidate for this conference?  Maybe not.  But I learned SO MUCH and met so many people with the same 'loves' as mine who shared generously with me in lines, over dinner, and in workshops.  It was a wonderful experience that I won't forget.  Start looking at conferences that interest you and take the leap!!! 

Monday, February 24, 2014

lessons learned from the VABF conference, part two...

The second day of the Virginia Association for Biological Farming Conference was a whirlwind of ideas, inspiration, and great food!

The conference offered SO MANY good topics and speakers this year.  It was terribly difficult to choose, but just before closing our eyes in the hotel the night before, Lanette and I had decided and marked in our conference schedules which sessions we'd attend.  After some sleep, some yummy brought-from-home breakfast goodies, and some caffeine, we were off to the conference!  Presentation files from all of the great sessions can be found HERE.

Workshop:  Selecting Farm Land and Location: Own, Loan, or Lease: The Waterpenny Example presented by Sue Ellen Johnson, Cliff Miller from Mount Vernon Farm, and Rachel Bynum from Waterpenny Farm

Perhaps I'm getting older, but I didn't realize until I walked into the room and chose my seat for this session that I'd met Cliff Miller and Rachel Bynum and visited their farms!  The hubs and I took a trip and attended the Rappahannok Farm Tour a few years back and these two farms were on the tour.  It was a great surprise and truly enhanced my experience in this session as these two farmers discussed the long term lease (40 years!) between Mount Vernon Farm and Waterpenny Farm.

Takeaway Tidbits:
   - Farmland must support your objectives!  
   - Longterm goals to consider:  livelihood, lifestyle, and legacy
   When considering land for farming, be honest with yourselves and take a long hard look at...
   - Land:  How much?  For a median income, you'll need 700 acres for a hay farm, 500 acres for a cattle farm, 30 acres for orchards, between 1 and 20 acres for nursery crops, 5 acres for a vegetable farm, 3 acres for a flower farm, 1 acre for a hydroponic greenhouse, and only 1/2 acre if you just want a subsistence garden and chickens or a subsistence garden and 1 cow.  In our region of Virginia, potted plants and cut flowers currently return the highest profits.
   - Land: Kind/Quality?  Be sure to check soil type/composition, topography, current fertility, current plant cover (what's it going to take to clear the land?), soil moisture/water table/drainage.
   - Water:  existence, locations on farm, functioning system of wells, capacity (for irrigation, for livestock, for washing), potability (can you wash your market veggies with it?), ponds/creeks/river/floodplain.  Water issues can be limiting.
   - You've found a farm!  Now:  walk the farm many times, talk to locals about farm's history, feel/smell the soil, evaluate current production potential, look at the functionality/maintenance/looks of farm's structures, carefully consider the septic system (particularly for agrotourism which means lots of guest to your farm needing to use the facilities!), consider the location and the distance/time to market, check local zoning, is there room to grow?

Organic Food Festival Potluck Lunch - an amazing array of organic foods brought by the attendees!  I brought homemade oatmeal bread with honey apple butter and strawberry honey jam.  Lots of delicious choices here!


Between to-doings, I made mad dashes to the Silent Auction, vendors in the Exhibition Hall, seed swap, and the ladies room!


Plenary Presentation:  Ray Archuleta, Natural Resources Conservation Service, Greensboro, NC, "Healthy Soils for Healthy Profits".  Mr. Archuleta is loud, proud, and on a mission to get our soils biologically healthy!  A showman and a scientist, this guy was very entertaining AND informative with interactive soil demonstrations, a slide show, and huge helpings of inspiration!


Workshop:  43560 Project presented by Clif Slade, Vegetable Specialist and 43560 Project Manager


Takeaway Tidbits:
   - "One acre of soil can do it" - 43560 = number of square feet in a single acre; this project set out to prove that if you could grow 1 head, 1 pound, or 1 bunch per square foot, selling at $1 - $1.25 per square foot, the gross income would be $43,560.
   - This was an "all in/all out" plan - plant in Spring, raise to harvest, done; plant buckwheat and clover for the rest of the summer; begin again in September for a second harvest to sell.
   - If you have a soil pH of 6.5, you're ready to consider this method; a low pH will have lots of weed problems and plants won't do well.
   - Marketing is key!!!  Utilize on farm sales, growing for CSA owners, selling your produce as a complementary items to PYO farms, restaurants, value-added items (painted, "adoptable" pumpkin babies); be a dependable supplier of whatever you produce.
   - Fertilization:  One 5-gallon bucket of pelletized poultry manure per 500 square feet; ten 5-gallon buckets of compost per square feet (sifted by hand), weekly applications of vermicompost tea.
   - Corn, tomatoes, cantelope, and watermelon cannot profit $1.25 per square foot in an "all in/all out" plan.

More visits to the vendors, and then the catered dinner.  Having spent the entire first day with Gunther Hauk and beginning to feel weary, we reluctantly decided to skip his plenary presentation. 


With cramped note-taking hand and overfull brain, I made my way to the Jeep with Lanette and headed to the hotel for a lovely soak in the hot whirlpool.  One more wonderful day to go!


Friday, February 7, 2014

lessons learned from the VABF conference, part one...


Recently a friend and I embarked on a journey together... to the Virginia Association of Biological Farming Conference in Richmond.
Lanette and me, conference buddies
Glorious.  Three days with beekeepers, growers, farmers, ranchers, teachers, authors, and foodies.  As another friend at the conference put it, "I am among my people."

Day One was a full-day intensive with Gunther Hauk of Spikenard Farm Honeybee Sanctuary in Floyd, Virginia.  He is a gentle soul, filled with knowledge and a great respect for the earth and for the bees.  There was so much to learn as he taught about biodynamic gardening and beekeeping!
Gunther Hauk showing the cow horn for a soil preparation
Workshop:  Biodynamic Gardening and Beekeeping presented by Gunther Hauk

biodynamic agriculture:
 a method of organic farming originally developed by Rudolf Steiner 
that employs what proponents describe as 
"a holistic understanding of agricultural processes".  
One of the first sustainable agriculture movements, 
it treats soil fertility, plant growth, and livestock care 
as ecologically interrelated tasks, 
emphasizing spiritual and mystical perspectives. 
Proponents of biodynamic agriculture, including Steiner, 
have characterized it as "spiritual science" 
as part of the larger anthroposophy movement.
-Wikipedia
A slide depicting a natural queen cell
Takeaway Tidbits:  
 - Sustainable is the very base... we would like to go beyond that and THRIVE!
 - Enliven the soil, don't just feed it.  Get lots of microbial and fungal action into it.
 - When we work with nature, we create culture.
 - The breeding of the true future is working with the cosmos, not with the microscope.
 - Nurture the bees, don't only keep them.
 - Animal wisdom is called instinct.  When we go against instinct, we go against health.
 - Swarming is a bee instinct.  Gunther Hauk catches or traps his swarms rather than splitting to prevent swarms, which he sees as interference.  Why do bees swarm?  Overcrowding?  To reproduce the colony?  No.  Because The Great Bee said so!
 - Use a chicken or goose feather rather than a bee brush to gently move bees.
 - If necessary, Gunther does treat his hives with formic acid for mites.
Slide depicting the heart-shaped top bar comb
Brains filled with new and strange ideas, we decided to chat about the day over a quiet dinner at a nearby Mexican restaurant.  Alas, it was not to be so.  Don't ask about the Mariachi band singing and playing Michael Jackson's "Beat It" with gusto.

Days Two and Three were filled with workshops, keynote speakers, an amazing Organic Food Festival Potluck lunch, lovely dinner, book signings, vendor tables, seed swap, and...

...more about all that in my next blog post!


Wednesday, January 15, 2014

girls just wanna have lunch...

I love a girls' lunch... yummy food, girl talk, and oh, the laughter!!!  But what about taking it one step further by planning a HEALTHY potluck lunch with girlfriends?

It's been such a treat to be invited to just that kind of lunch at the home of my friend, Lanette.  (Check out her blog, Homesteading on the Homefront!)  She invites a handful of friends to come at 11:00 in the morning.  Each one brings a HEALTHY dish to share, along with copies of the recipe.  As the ladies arrive, we add our dishes to the kitchen island.  Each new dish creates a stir of 'oooh's and 'aaaah's and eagerness to try it, as well as questions about how it was made and what ingredients it contains. 

This time, we enjoyed the following menu.  Links to similar recipes are included:
Roasted Red Pepper Hummus with veggies and pita triangles

Plates and bowls were filled and brought to the table.  A blessing was offered and we began to sample each tasty item until our plates were empty.  

Each one of us follows a different eating plan or style.  Each one is in a different stage of our healthy lifestyle journeys.  But on this day we came together to share delicious, healthy, whole food items, created with love.  We shared, but also listened and supported one another right where we are.  We affirmed each other as gorgeous and vibrant women created by a loving God.  We laughed and laughed.

And we parted with our bodies full of good, healthy fuel for the remainder of the day, with recipes for the delicious, nutritious dishes we'd tried, and with a feeling of shared community with girl pals doing our best to take care of ourselves.

Plan a HEALTHY potluck with your friends and encourage one another!

Monday, January 6, 2014

Dreaming of the Spring Garden...


“In the bleak mid-winter...”

We sing that hymn in church every year around this time. And it can be pretty bleak.  Colder temperatures. Blustery days. Too many layers. Less daylight. But there are these beautiful gifts that arrive like an extension of Christmas in my mailbox, first one, then another, then another. Seed catalogs! Pages and pages of color where memories of fragrance and taste are revived...


I'm blogging as Farm Wife in Suburbia for Capper's Farmer magazine today.  Click HERE to read the rest of this story about my garden plan.

Thursday, January 2, 2014

bee blankets... or something like that...


On June 3, 2013, we became beekeepers.  We received a swarm call, suited up, and with the help of a couple of experts, we slowly removed the most beautiful swarm of honey bees hanging precariously from a tree branch in a sweet homeowner's back yard.  Safely sealed in a swarm bucket, we brought the bees home and shook them into a lovely English Garden hive.  They made themselves right at home!
Our first hive, one week after capturing the swarm
The months since then have been filled with questions, worries, and the steepest of learning curves.  Thankfully, we had beekeeping mentors and friends in the Beekeepers Guild of Southeast Virginia and in the Virginia Urban Homesteaders League.  These patient folks let us trample through and observe their bee yards, answered every question with kindness, and calmed each fear that arose.  We've successfully tackled hive building and painting, bringing a swarm home, finding and (very sloppily) marking a Queen, splitting a hive, installing a nuc, hive beetles, sugar syrup feedings, stings, honey robbing, and so much more.  It's been hard work and anxiety-filled for this first-time-bee-mama.  Yet we are filled with joy daily as we look out onto the bee yard.

But it was always out there.  In the distance.  But closer with each passing day.

Winter and its dangers were coming.  Harsh winter storms are now bearing down on the states above us and the next couple of days hold bitterly (for us) cold temperatures and strong winds.  Honey bees remain active throughout winter, despite the cold.  We confirmed that our bees had plenty of stored honey for food.  Now we had to do what we could to protect them from this drastic weather change.

Again, we are beginners.  And again, I am a first-time-bee-mama.  Please don't judge.

We gathered some leftover roofing paper and styrofoam sheets from the shed and set to work.  Each hive body was wrapped in the heavy paper and squares of insulating styrofoam, which were tied with simple garden string.  The entrances were left open and entrance reducers were in place in their smallest configuration. 

The bees work hard to keep the temperature inside the hives warm and even, optimally just above 90 degrees.  Too cold and bees won't survive.  But another danger is moisture from condensation forming inside the hives.  We have screened bottom boards or screened vents in each of our hives to allow moisture to escape.  As soon as the temperatures rise again (which in our area means a day or two from now!) we will remove these “bee blankets” from the exterior of the hives.  Hopefully our efforts will give the bees a little better chance at surviving the winter.

But then comes Spring which means swarming, new Queens, mating flights, more hive beetles, hive splits, honey harvesting...