Flannel Jammies Farm

...praising God on our 1/5 acre of suburbia

Wednesday, January 15, 2014

girls just wanna have lunch...

I love a girls' lunch... yummy food, girl talk, and oh, the laughter!!!  But what about taking it one step further by planning a HEALTHY potluck lunch with girlfriends?

It's been such a treat to be invited to just that kind of lunch at the home of my friend, Lanette.  (Check out her blog, Homesteading on the Homefront!)  She invites a handful of friends to come at 11:00 in the morning.  Each one brings a HEALTHY dish to share, along with copies of the recipe.  As the ladies arrive, we add our dishes to the kitchen island.  Each new dish creates a stir of 'oooh's and 'aaaah's and eagerness to try it, as well as questions about how it was made and what ingredients it contains. 

This time, we enjoyed the following menu.  Links to similar recipes are included:
Roasted Red Pepper Hummus with veggies and pita triangles

Plates and bowls were filled and brought to the table.  A blessing was offered and we began to sample each tasty item until our plates were empty.  

Each one of us follows a different eating plan or style.  Each one is in a different stage of our healthy lifestyle journeys.  But on this day we came together to share delicious, healthy, whole food items, created with love.  We shared, but also listened and supported one another right where we are.  We affirmed each other as gorgeous and vibrant women created by a loving God.  We laughed and laughed.

And we parted with our bodies full of good, healthy fuel for the remainder of the day, with recipes for the delicious, nutritious dishes we'd tried, and with a feeling of shared community with girl pals doing our best to take care of ourselves.

Plan a HEALTHY potluck with your friends and encourage one another!

Monday, January 6, 2014

Dreaming of the Spring Garden...


In the bleak mid-winter...”

We sing that hymn in church every year around this time. And it can be pretty bleak.  Colder temperatures. Blustery days. Too many layers. Less daylight. But there are these beautiful gifts that arrive like an extension of Christmas in my mailbox, first one, then another, then another. Seed catalogs! Pages and pages of color where memories of fragrance and taste are revived...


I'm blogging as Farm Wife in Suburbia for Capper's Farmer magazine today.  Click HERE to read the rest of this story about my garden plan.

Thursday, January 2, 2014

bee blankets... or something like that...


On June 3, 2013, we became beekeepers.  We received a swarm call, suited up, and with the help of a couple of experts, we slowly removed the most beautiful swarm of honey bees hanging precariously from a tree branch in a sweet homeowner's back yard.  Safely sealed in a swarm bucket, we brought the bees home and shook them into a lovely English Garden hive.  They made themselves right at home!
Our first hive, one week after capturing the swarm
The months since then have been filled with questions, worries, and the steepest of learning curves.  Thankfully, we had beekeeping mentors and friends in the Beekeepers Guild of Southeast Virginia and in the Virginia Urban Homesteaders League.  These patient folks let us trample through and observe their bee yards, answered every question with kindness, and calmed each fear that arose.  We've successfully tackled hive building and painting, bringing a swarm home, finding and (very sloppily) marking a Queen, splitting a hive, installing a nuc, hive beetles, sugar syrup feedings, stings, honey robbing, and so much more.  It's been hard work and anxiety-filled for this first-time-bee-mama.  Yet we are filled with joy daily as we look out onto the bee yard.

But it was always out there.  In the distance.  But closer with each passing day.

Winter and its dangers were coming.  Harsh winter storms are now bearing down on the states above us and the next couple of days hold bitterly (for us) cold temperatures and strong winds.  Honey bees remain active throughout winter, despite the cold.  We confirmed that our bees had plenty of stored honey for food.  Now we had to do what we could to protect them from this drastic weather change.

Again, we are beginners.  And again, I am a first-time-bee-mama.  Please don't judge.

We gathered some leftover roofing paper and styrofoam sheets from the shed and set to work.  Each hive body was wrapped in the heavy paper and squares of insulating styrofoam, which were tied with simple garden string.  The entrances were left open and entrance reducers were in place in their smallest configuration. 

The bees work hard to keep the temperature inside the hives warm and even, optimally just above 90 degrees.  Too cold and bees won't survive.  But another danger is moisture from condensation forming inside the hives.  We have screened bottom boards or screened vents in each of our hives to allow moisture to escape.  As soon as the temperatures rise again (which in our area means a day or two from now!) we will remove these “bee blankets” from the exterior of the hives.  Hopefully our efforts will give the bees a little better chance at surviving the winter.

But then comes Spring which means swarming, new Queens, mating flights, more hive beetles, hive splits, honey harvesting...

Monday, December 30, 2013

the cranberry conundrum (with vinaigrette recipe!)


It finally happened.  I truly didn't think it was possible.  But it came to pass this holiday season...

Too much cranberry sauce.

I know!  How?  How could it be?  Double and triple batches were always gobbled up with ease.  I even hoarded some of the homemade, ruby-red goodness and canned it for the larder.  But I found myself with half a bowl full after Christmas.

Truth be told, there were lots of leftovers and all I really wanted was a crisp, fresh salad.  Something green and living and vibrant after all that turkey and stuffing and potato and pumpkin and gravy.  I went out to the garden and grabbed some baby kale, some brilliant beet greens, some golden Swiss chard, and I added it all to a bowl of crisp Romaine.  Some sliced mushrooms and bite-sized chunks of cauliflower and I was ready to dive in... almost.

It need a little dressing.  Something sweet and tart and bright.  I opened the fridge.  Any vinaigrette from the pre-holiday salads was long gone.  But there was that half-bowl of cranberry sauce staring me in the face.

YES!  Cranberry Vinaigrette!  Of course!  I just tweaked my basic vinaigrette recipe and added my homemade (from fresh berries) cranberry sauce.  My cranberry sauce is a a half-crushed, half-whole berry mix of cranberries, fresh-squeezed orange juice, orange zest, and raw sugar (sometimes I add a bit of fresh-grated nutmeg or fresh-grated ginger).  Once the ingredients were added to a small container and whazzed with the immersion blender, the vinaigrette became this luscious, creamy, rosy-hued topping that was perfect on my "cure-for-too-many-feastings" salad.

Give it a try... or better yet, try swapping the cranberry sauce for a favorite jam or jelly sitting forlornly on your larder shelf.  You'll create something fresh and delicious, I'm sure!

Too Much Cranberry Sauce Vinaigrette

1/4 cup cranberry sauce 
2 Tablespoons sherry or white balsamic vinegar
1 - 2 teaspoons Dijon mustard
Juice of 1 clementine
Juice of 1/2 lime
1/4 teaspoon minced ginger
1/3 cup light olive oil (don't use strongly flavored oil)
1/2 teaspoon kosher salt
fresh cracked black pepper, to taste

Add all the ingredients to a small bowl or container.  Whazz it up with an immersion blender, or whisk, whisk, whisk until smooth.  Store in the fridge and enjoy!


Saturday, December 21, 2013

a quiet Season...

It's here!  The time of all bustling and wrapping and baking and visiting!  I love the fun of the Christmas season.  But this year things have gone a bit quiet... a small bump in the road has left me cozily resting on our little plot of suburbia. 

Let me just share a few images from around Flannel Jammies Farm at Christmas time, and take this opportunity to wish you all a blessed and beautiful season as we celebrate the coming of the Christ child!

A peek inside the stable built by my uncle
the Christmas tree

the top of our jam and jelly cabinet

a blue Christmas vignette

the tea set my daughter and I made so many years ago

adding ornaments to light for each day's reading

our Christmas meditation

a wreath created from old hymnal pages

stockings are hung on the saw with care

and this little guy
...but the angel reassured them.  
“Don’t be afraid!” he said. 
“I bring you good news 
that will bring great joy to all people.  
 The Savior—yes, the Messiah, the Lord—
has been born today in Bethlehem, the city of David!
Luke 2:10-11

Wednesday, October 9, 2013

apple season... with my applesauce recipe...


There's this moment when you crest a hill between Richmond and Charlottesville... the blue mountains just come into view... and it takes my breath every time.

This weekend we traveled to C-ville to pick apples at Carter Mountain Orchard with the whole family.  Our daughter and our darling dingo, Scarlett, joined us for the journey, and we met our son and his wife (the rock stars) and her parents at the orchard.  The weather was more like August than October, but the breeze atop the mountain helped and the sunshine put smiles on our faces.

We grabbed our bags and headed toward the trees...  now, which to pick?  Gala?  Fuji?  York?  Jonagold?  Yes, that one!


There were ripe, juicy apples everywhere!  The best, however, were higher up in the trees, and required a bit of climbing.  Soon we had close to 60 pounds in our bags and decided to relax and visit a bit before heading off to lunch.


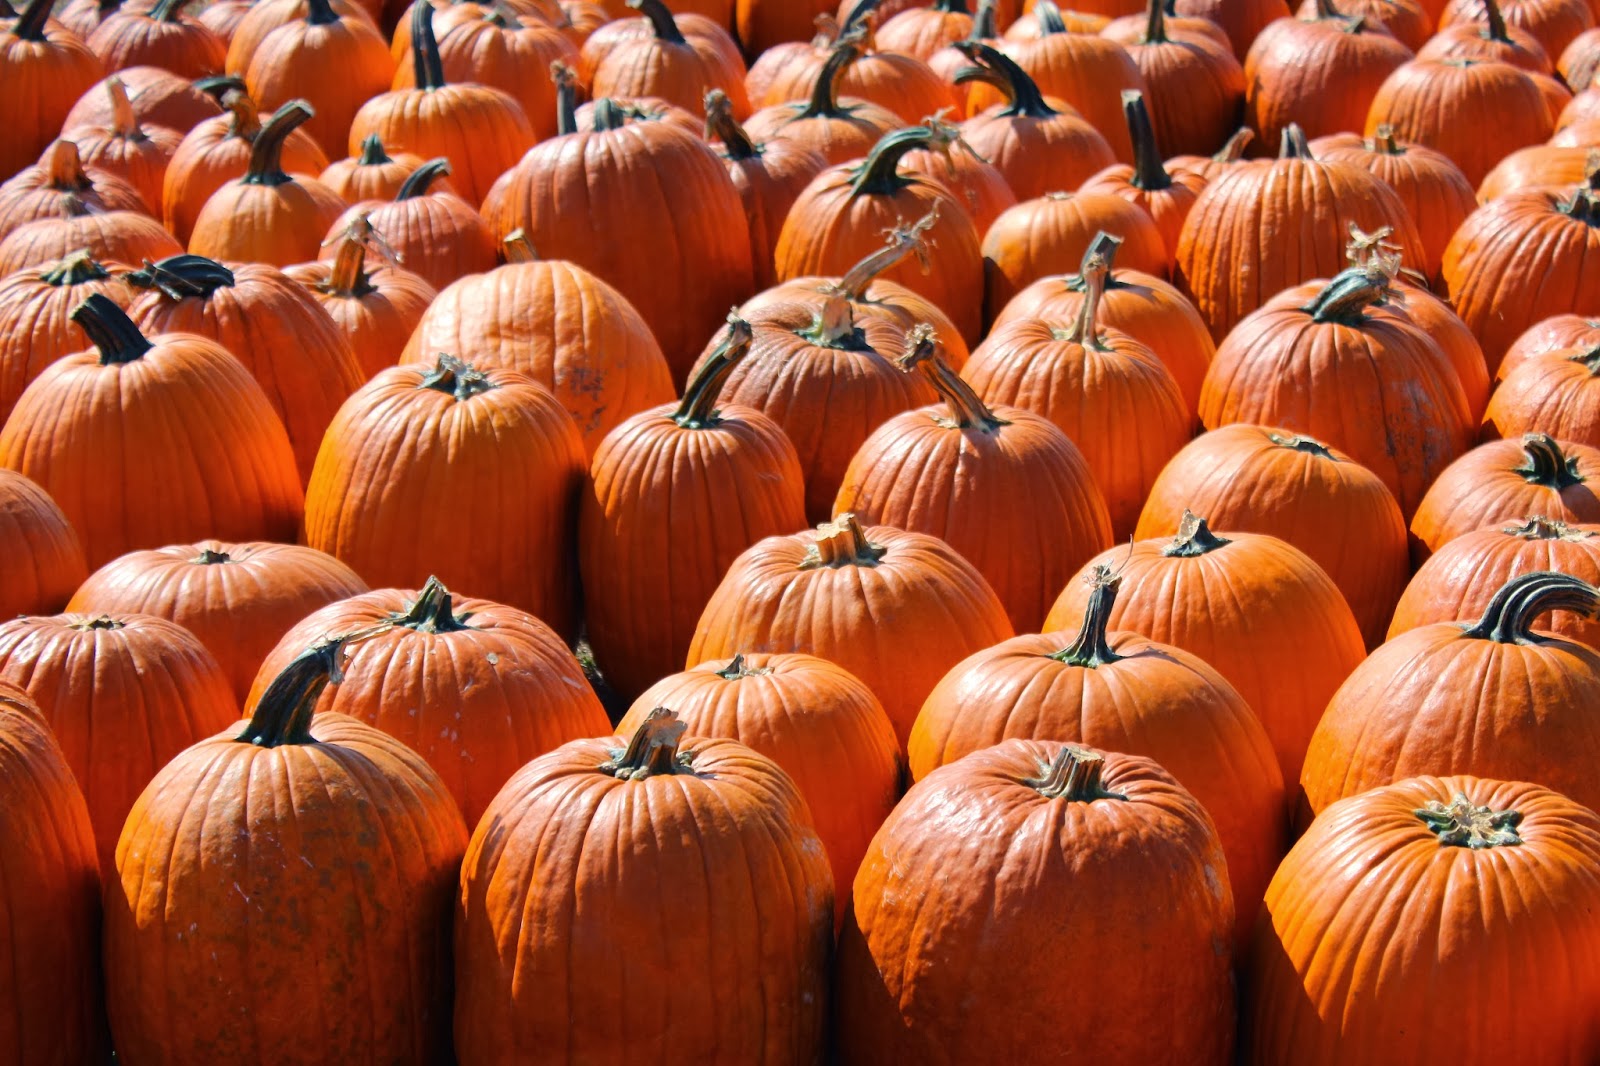
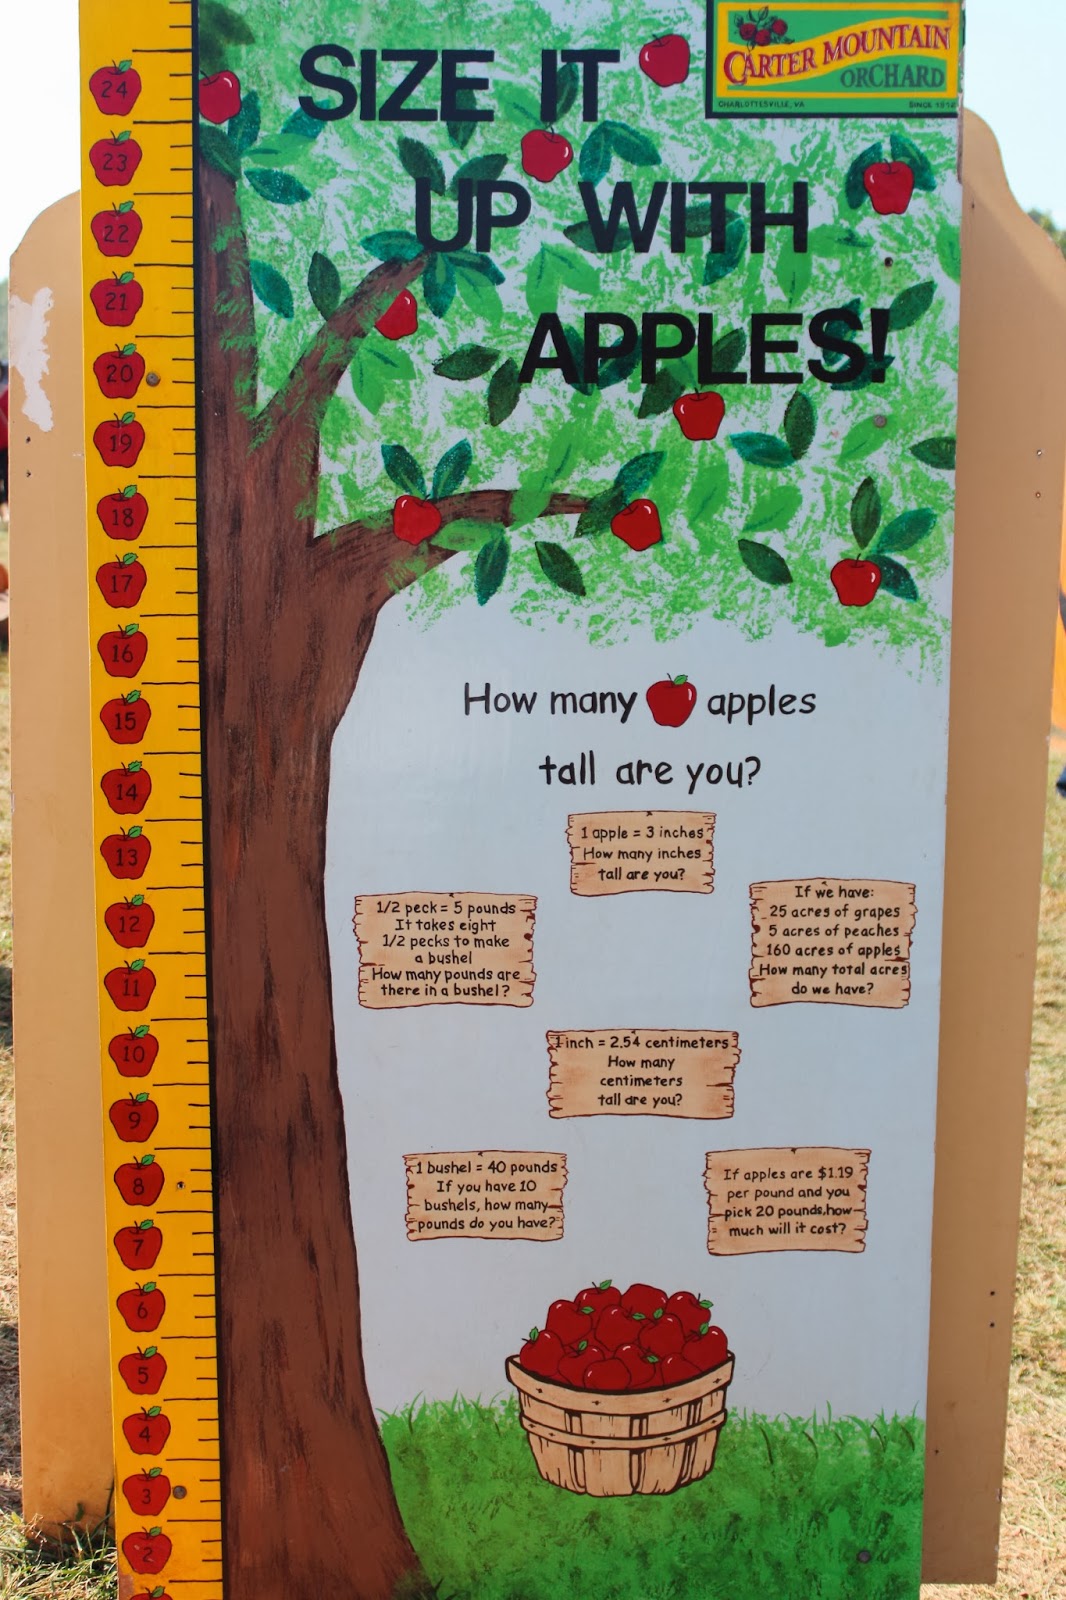
Carter Mountain is quite the destination for apple picking, cider doughnuts, and various other treats.  I found some education displays and pumpkins galore.


After lunch and hugs goodbye, the Beach crowd ventured 20 minutes south of Charlottesville for a stop at Vintage Virginia Apples / Albemarle Ciderworks.  This was the place!

Glorious varieties of pre-picked apples; we chose close to 10 pounds each of Idared and Gold Rush.  Each variety had slices to sample, making the decision easy and tasty. 

And then there was the cider tasting.  Less fussy than wine tasting, this was pure delight.  The cider bubbles tickled our tongues while we enjoyed the musical musings of a local musician, Fiona Balestrieri.  The three of us enjoyed the warm sun and cool breezes while Scarlett was lulled to sleep by Fiona's voice.  I could have stayed in that moment for so much longer...

...but we had to get home and process all those apples!  The drive back across the bridge to home was spectacular.

Yesterday I worked on applesauce.  Pure, unadulterated apples, cooked down and run through the largest blade of the food mill, then canned in beautiful blue Ball jars for the pantry.  Make your own applesauce.  Your tummy will thank you.

Homecanned Applesauce

Yield: about 15 pints

8 pounds large apples, washed, cored, cut into wedges, and dipped into lemon juice to prevent browing
     (I wash mine in a large bowl of water with a touch of white vinegar
      before coring and cutting.)
1/2 cup fresh apple cider
1/2 cup water

(Yes, that's it.  No sugar.  No spices.  Just absolutely perfect and pure apple goodness.)

Add the liquids to a large stainless steel pot (it seems like a small amount, but it's just to prevent the apples from sticking).  Add the apples to the pot with the liquids.  Put the lid on the pot and bring to a boil.  Reduce the heat and simmer the apples for 20 minutes or so, until apples are tender.  (The variety and age of your apples will affect the cooking time.)  Remove the pot from the heat and allow the apples to cool a bit.

Working in batches, run the cooked apples through a food mill to remove skins and to puree the apples.  (I used the food mill blade with the largest openings because I like a slightly textured applesauce; use a blade with smaller openings if you like a smoother applesauce.)  Add the apple puree back to the pot and bring back to a gentle simmer.

Ladle hot applesauce into hot jars leaving 1/2 inch headroom.  Remove air bubbles, wipe jar rims (I use a cloth dampened with white vinegar), center lids onto jars, and screw on the bands just fingertip tight.  Process the jars of applesauce in a covered boiling water canner for 20 minutes.  At the end of the 20 minutes, turn off the heat, remove the lid, and allow to cool for 5 minutes.  Remove the jars and allow to cool completely on a towel-lined rack or board.  Check the seal after 24 hours.  Remove the bands from sealed jars and store for apple enjoyment over the next year. 

A jar didn't seal properly?  Oh, what a shame!  You'll have to refrigerate that jar and eat it right away!  Enjoy!!